The "General MIDI" Myth vs. Modern VST Reality
Back in the 80s, the industry tried to standardize drum mapping with General MIDI (GM). It dictated that Note 36 is ALWAYS a Kick, Note 38 is ALWAYS a Snare, and so on. This worked perfectly when drum machines only had 8 basic sounds.
Fast forward to today: a modern VST like Addictive Drums 2 or Mixwave has over 100 unique articulations (rimshots, center hits, bell tip, bell edge, choke, etc.). There simply aren’t enough notes in the GM standard to fit them all. Consequently, every developer created their own proprietary "Map."
- EZdrummer/Superior Drummer: Often follows a modified GM layout but relies heavily on CC data for hi-hats.
- Addictive Drums 2: Uses a completely unique "Map" that shifts snares and hats to different octaves.
- GetGood Drums (GGD): Maps specifically to optimize the piano roll for heavy metal production, ignoring GM entirely.
How to Manually Remap Drums in Ableton Live
If you don't want to use external tools, you can fix this inside Ableton. It’s tedious, but educational. Here is the professional workflow:
Method 1: The Drum Rack Transpose
If you're using an Ableton Drum Rack, you can change the "Receive" note for each pad to match your incoming MIDI:
- Open your Drum Rack.
- Show the Chain List and then the I-O Section.
- Look at the 'Receive' column. If your MIDI loop is sending a Kick on C1 but your VST expects it on B0, change the Receive note on your Kick pad to C1.
Method 2: MIDI Effect Rack (The "Pitch" Plugin)
For 3rd party VSTs like GGD that aren't loaded inside a Drum Rack:
- Load a 'Pitch' MIDI effect before your VST.
- Group it into a MIDI Effect Rack.
- Create separate chains for each drum element (Kick, Snare, Toms) and use the Pitch plugin to shift those specific notes to the correct location.
Method 3: The Piano Roll "Fold" Trick
Ableton's Piano Roll has a magical Fold button. While it doesn't automatically remap notes, it hides all the empty keys. If you create a custom MIDI clip with only the correct notes for your VST and hit 'Fold', dragging rogue MIDI notes to the correct lane becomes much easier visually.
Common Mapping Mismatches in Ableton
To give you an idea of the chaos, here is a quick cheat sheet of how different VSTs treat the exact same drums:
| Instrument | GM / EZD Standard | Addictive Drums 2 | GGD (M&M) |
|---|---|---|---|
| Kick | 36 (C1) | 36 (C1) | 36 (C1) / 35 (B0) |
| Snare (Center) | 38 (D1) | 38 (D1) | 38 (D1) |
| Snare (Rimshot) | 40 (E1) | 41 (F1) | 39 (D#1) |
| Hi-Hat (Closed) | 42 (F#1) | 48 (C2) | 44 (G#1) |
| Ride (Bow) | 51 (D#2) | 60 (C3) | 53 (F2) |
The Hidden Trap: Losing Your Ghost Notes
Here's why manual mapping kills your creative flow: dragging a cluster of snare hits often ruins the delicate velocity curves of ghost notes. You might accidentally merge a subtle rim-click with a full-velocity center hit. When translating between VSTs, it’s not just about pitch; it’s about maintaining the human "feel" of the original drummer. Doing this manually for a 5-minute song takes hours of clinical, inspiration-killing work.
The Automated Solution: DrumRemap
DrumRemap was built to handle this "translation" in the background so you never have to touch the Piano Roll just to hear a groove.
Instead of building complex MIDI Effect Racks or worrying about ruining your velocities, you simply:
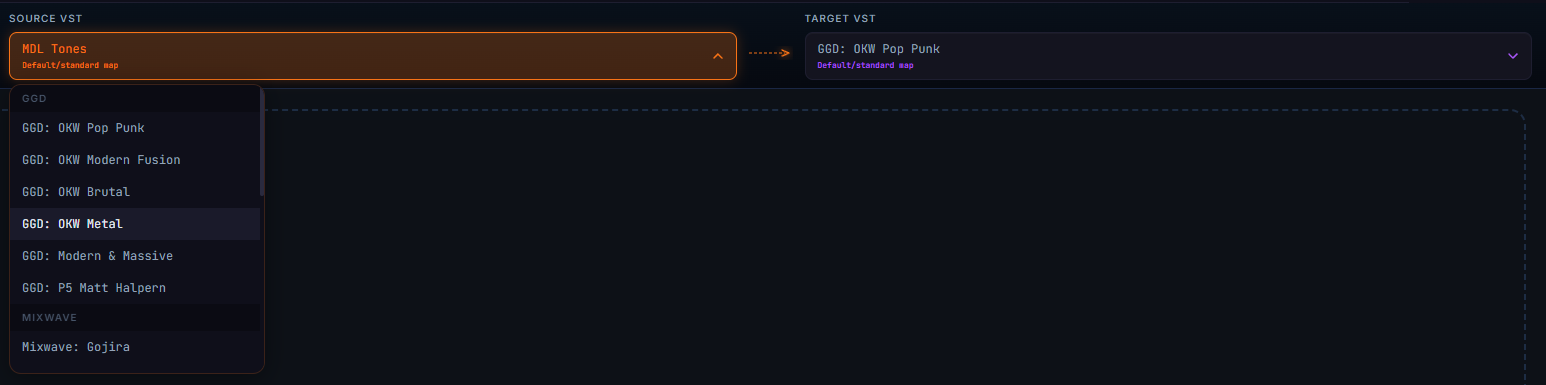
- Import your "broken" MIDI file.
- Select your Source VST (what the MIDI was made for) and Target VST (what you're using in Ableton).
- Preview the fix instantly using the Built-in Audio Engine.
- Export a clean, perfectly mapped MIDI file ready for your project.
You stay in the creative zone. Let the machine handle the math.